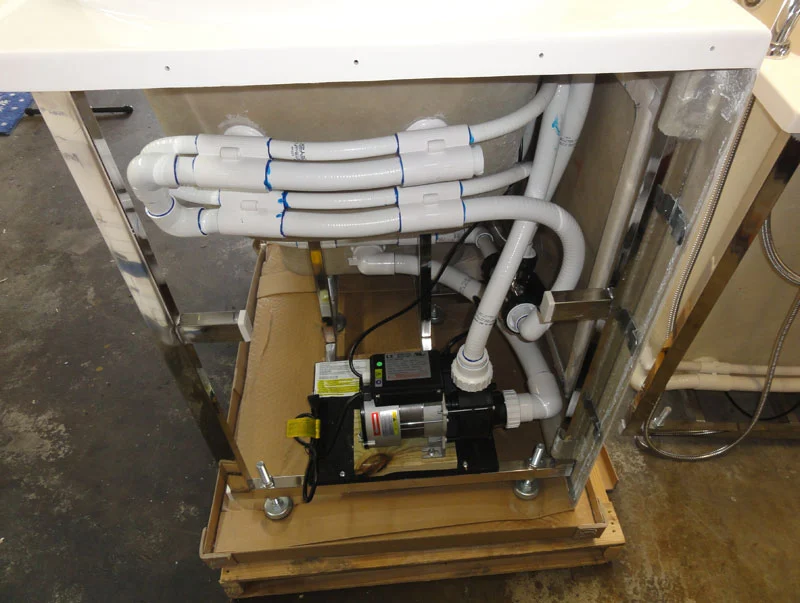
Installing a Walk In Bath
The latest Spring 2023 guide for installing a walk in bath, it can be a rewarding task with the right tools and instructions. This guide will provide step-by-step instructions for easy access bath installation in your bathroom.
Step 1: Preparation The first step in installing a walk-in tub is to prepare the area where the bath will be installed. Clear the area of any furniture, fixtures, or obstacles. Turn off the water supply to the bathroom and drain the existing bathtub. Check the floor for any signs of water damage or decay, and repair any damage before proceeding.
Step 2: Measure and Mark Measure the dimensions of the walk-in bathtub and mark the location where it will be installed. Use a level to ensure that the area is level and plumb. Mark the location of the drain and the hot and cold water supply lines.
Step 3: Install the Drain and Water Supply Lines Before installing the walk-in tub, you need to install the drain and water supply lines. This may require the services of a plumber if you are not familiar with plumbing work. Connect the drain to the existing plumbing and install the water supply lines. Test the connections to ensure there are no leaks.
Learn more about Serenity Range Self-Cleaning Walk-In Baths.
Step 4: Install the Drain Fitting and Overflow Install the drain fitting and overflow in the designated location. Apply the plumber’s putty around the drain fitting to create a watertight seal. Tighten the drain fitting with a wrench.
Step 5: Install the Walk-In Bath Carefully lower the walk-in bathtub into the designated location. Make sure that the bath is level and plumb. Secure the bath in place with screws and brackets.
Step 6: Connect the Water Supply Lines Connect the hot and cold water supply lines to the designated locations on the walk-in bathtub. Test the connections to ensure there are no leaks.
Step 7: Install the Faucet and Showerhead Install the faucet and showerhead in the designated locations on the walk-in bathtub. Follow the manufacturer’s instructions for installation.
Step 8: Install the Drain Cover Install the drain cover and check for leaks. Tighten the drain cover with a wrench.
Step 9: Test the Walk-In Bath Turn on the water supply and test the walk-in bathtub for any leaks or problems. Check the drainage and make sure the water flows smoothly.
Step 10: Seal the Edges Seal the edges of the walk-in bathtub with silicone caulk. Allow the caulk to dry completely before using the bath.

In conclusion, installing a walk-in bathtub or an accessible bath can be a complex process, but with the right tools and instructions, it can be done successfully. If you are not familiar with plumbing or construction work, it may be best to hire a professional to install the walk-in bath for you.
Remember to follow the manufacturer’s instructions carefully and test the bath for any leaks or problems before using it. This guide on how to install a walk-in bathtub can help you with your installation process.
